

Do you have a worn or dated shower door in your bathroom? Then you should not think twice before a shower door replacement. It can help you to enhance the look and functionality of your bathroom. Old shower doors often leak and corrode. They may not open or close properly as well. After you replace shower door, you can overcome this trouble. It is something that you can do to boost the value of your house before selling it as well.
The process of replacing shower door may seem intimidating. However, it is a perfect DIY project for anyone who has basic skills and tools. This guide on how to replace shower door will guide you through the steps. You just need to follow these steps as you continue with replacing shower door.
Importance of Shower Door Replacement
A leaky shower door that sprays water outside the enclosure is more than just an annoyance. The escaping water can lead to mold growth, damage your flooring, and cause injuries from slippery surfaces. Replacing a faulty shower door promptly helps contain water in the enclosure, ensures proper drainage, and prevents unnecessary repairs later on.
Benefits of Replacing a Shower Door
There are numerous reasons to replace your existing shower door and go for new shower door installation. Let’s take a look at the most prominent benefits of them.
- Improved appearance - An updated door with sleek or custom styling modernizes the look of your bathroom
- Better functionality - New rollers/gliders allow smooth opening and closing while seals prevent leaks
- Enhanced safety - Tempered glass doors and textured handles reduce risk of slips and falls
- Increased property value - Bathroom remodels like shower door replacement boost resale value
Steps to Replace Shower Door
If you are convinced, let’s take a look at the steps you should follow for shower door replacement.
1. Tools and Materials Needed for Shower Door Replacement
Before starting, ensure you have all necessary equipment and replacement parts ready. Common tools and materials that you need to replace shower door glass are as follows:
- Screw Gun - A cordless drill allows easy drilling into shower walls/framing
- Tile Drilling Bits - Special carbide-tipped bits for drilling through ceramic tiles
- Level - Helps keep tracks and framework even for proper installation
- Screwdriver - Both Phillips and slotted screwdrivers to remove existing screws
- Tape Measure - Measure multiple times to ensure accurate sizing and alignment
- Silicone Caulk - Waterproof caulking seals gaps between new door and walls
- Putty Knife - Smooths out caulk and cleans tile drilling area
- Utility Knife - Cuts glazing vinyls or weatherstripping to size
- Shower Door Replacement Parts - Match size and style framing, glass, and hardware
2. Preparing for Shower Door Replacement
Proper planning prevents problems down the road. Before demolition, complete these preparatory steps:
- Clear the Immediate Area - Remove items surrounding the shower to allow free workspace
- Wear Protective Gear - Use safety glasses, work gloves, ear protection, and a mask/respirator
- Gather Tools & Materials - Have everything fully accessible to avoid leaving mid-project
- Turn Off Water Supply - Prevent leaks; turn back on later to test for leaks
- Remove Accessories - Take down showerheads, rods, curtains/liners if obstructing project
3. Measuring the Shower Enclosure
Accurate measurements ensure your new shower door fits correctly. Use a tape measure to note:
- Height & Width - Measure front opening from tile to tile at various points
- Depth - Floor to ceiling since doors come in standard heights
- Check Plumbness - Use a level on jambs to determine out-of-plumb issues
- Compare to Replacement - Ensure within size range of new unit’s specifications
4. Removing the Old Shower Door
Take time disassembling to avoid breaking installation parts that may be reused:
- Removing Screws - Unscrew any header brackets, railing, jambs still intact
- Detaching Frame - Tap pins/glazing clips out; slide door pane from U-channel intact
- Cleaning & Removing Caulk - Scrape old caulk completely using a putty knife
- Filling Holes & Repairing Tile - Cover leftover hardware holes & repair tile chips
- Sanding Walls - Smooth roughness using emery paper for flush new installation
5. Installing the New Shower Door
Frameless, framed, and sliding doors each have different installation procedures. Refer to manufacturer instructions as well.
5.1 Installing Frameless Shower Door
Frameless doors lacking metal framing require careful installation directly into studs or blocking.
- Cut Adjustable Wall Anchors - Fit bracket slide lengths to measured opening
- Drill Guides - Use tile bit; vacuum dust before caulking to ease drilling
- Align & Plumb - Use levels to perfectly position jamb mounts
- Caulk & Insert Anchors - Foam backer rod first for right caulk depth
- Attach Mounting Brackets - Hang door panel onto anchored jamb pieces
5.2 Installing Framed Shower Door
Framed doors have metal or composite framework surrounding the glass panel.
- Position Frame - Center in opening, keeping U-channels facing inward
- Mark Holes - Align pre-drilled jamb holes to studs and then drill through tile
- Secure Jambs - Insert screws into studs using plastic wall anchors
- Hang Doors - Insert pivots top and bottom; adjust rollers
- Attach Handles - Insert/tighten handle screws onto glass door edge
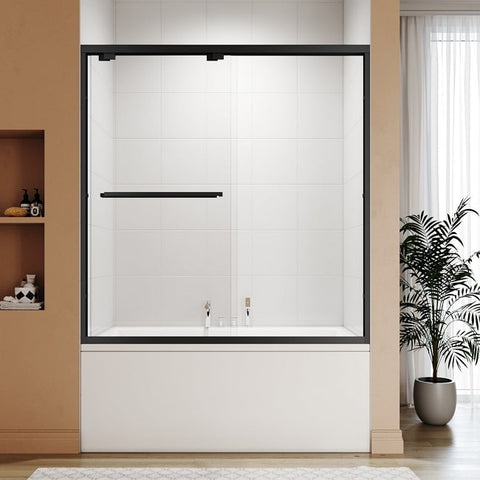
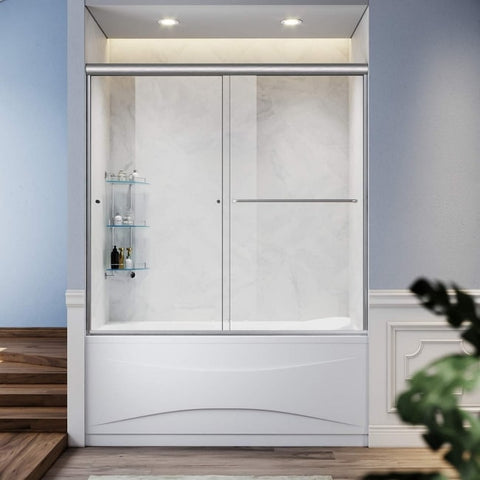
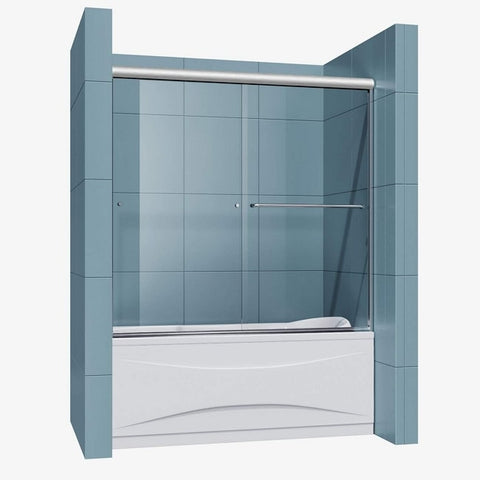
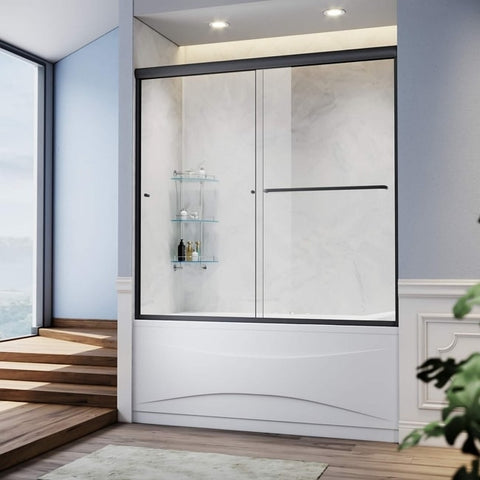
5.3 Installing Sliding Shower Door
- Sliding shower doors ride along a floor and ceiling track system.
- Cut Track - Use hacksaw to cut bottom track; ensure snug opening fit
- Establish Track Alignment - Level and square header to accept door weight
- Fasten Track System - Screw into wood backing and drill anchors for ceiling mount
- Attach Rollers - Insert into frame top; adjust up/down
- Hang Door - Lift onto roller track; ensure smooth travel
6. Finishing Touches
Complete the professional-looking installation with these tips:
- Add Seal Strips - Apply weatherstripping vinyls around edges
- Caulk Entire Interior - Tool in continuous smooth silicone beads
- Install Accessories - Shower rods, handles, knobs, or shelves
- Hose Spray Test - Check for leaks and drainage issues
- Make Adjustments - Tweak rollers, tighten anchors, adjust strike seals
7. Troubleshooting Common Shower Door Issues
With an understanding of how shower doors function, diagnosing problems becomes easier:
- Uneven Walls - Shim anchoring brackets to compensate for out-of-plumb
- Misalignment - Adjust rollers to correct rubbing, loosen frame to realign
- Insecure Mounting - Ensure solid anchor contact with studs or backing
- Loose Handles - Tighten screws behind handle escutcheons
- Noisy Operation - Lubricate rollers/guides; adjust glass engagement
- Leaks - Apply additional caulk at leakage points if not overcut gap
Final Words
Upgrading to a new shower door greatly improves your bathroom’s functionality and aesthetics. By following dimensional guidelines and the manufacturer’s instructions for your particular configuration, the installation process can move along smoothly.
Pay attention to little details like plumb walls, water testing, and silicone caulking for optimal results. Soon you’ll be enjoying an enhanced showering experience and elevated home value. Don’t forget to visit Sunny Shower to buy your replacement shower door. You can find the best selection of shower doors in our website.


